Have you looked at the caulking in your bathroom and kitchen? Around the tub, shower, sink, and walls at and near the wet areas? How about around and near your kitchen sink, countertop to wall backsplash, and plumbing fixtures? When it is time to replace the caulk in your bathroom or kitchen?
You should check your bathroom and kitchen caulking annually. If you see mold or mildew growth beneath the surface of the caulk, indicating water leakage, that is one indicator that replacement is needed.
Also, if the caulk is older than five years, it is dried out or cracked, or you see peeling or missing caulking, some maintenance is needed. Failure to maintain could result in serious and costly water damage to your home.
Are you ready for your next project?
Type and quality of caulk to use?
Caulking? Sealant? What's the difference?
"The key distinction between caulking and sealant? Elasticity. Caulk is typically made from a mixture of latex and acrylic materials, which make it more rigid and prone to shrinking when cured. A sealant offers superior elasticity and water resistance because it primarily contains silicone." Source
Most homeowners will use the words caulking or sealant as the same thing. For most bathroom and kitchen applications you need a product that provides elasticity as mentioned above, and that my friends, is a sealant.
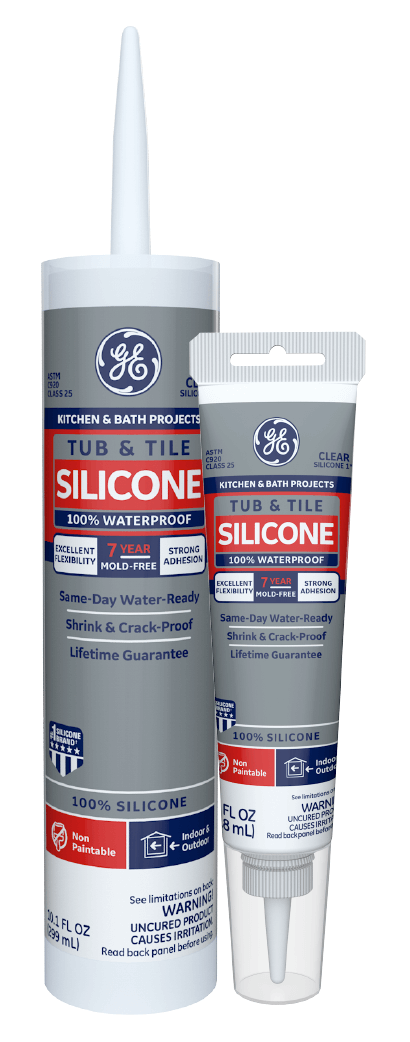
You also need one that is mold and mildew resistant. The sealant products with elasticity will have a rating of ASTM C920 on the product label; this includes silicone products or silicone-based caulk.
The more rigid products will have a rating of ASTM C834. The C834 products are generally not recommended for bathrooms. Some C834 products may be ok in kitchens, depending on the surface(s) to receive the application. The C834 products are also used on the home's exterior around trim and on occasion on the interior trim. These are latex caulk and acrylic caulk formulas.
Be careful of products that state "containing silicone." Many of these have the C834 rating so they will dry hard and crack easily...very little elasticity.
Also, be careful of deceiving product labels that state for use in bathrooms and kitchens. Although the product(s) could be used for these applications, they may not be the best or provide the best service and life expectancy. Another word of caution, if you are sealing around granite or marble, check the label to make sure it can be used on that specific material.
Non-compatible products can cause staining of these stone surfaces. The best way to check the specifications of a product is to read the Sample Technical Data Sheet. They are available on the product manufacturer's website.
A 100% silicone sealant bonds to porcelain, ceramic, marble, fiberglass, and most metals. It’s ideal for wet, interior, and exterior applications because it’s extremely weather-resistant and contains antimicrobial properties that will inhibit the growth of mold and mildew.
The sealant is also UV-resistant, which protects against yellowing and allows a seal to last longer when exposed to direct sunlight. Silicone sealant will fully cure within 24 hours.
Pro Tip: Please read manufacturer instructions and recommendations on products including the product technical data sheet to ensure best practices for safe and effective use.
Areas for caulking or sealant
Bathroom - The primary purpose of caulking or sealant is to limit or prohibit moisture intrusion and in many applications to provide a watertight seal.
Many people do not realize if they have ceramic or porcelain wall tile, the grout joint between the tiles will absorb moisture. If you use a grout sealer on the joints absorption will be reduced but not eliminated.
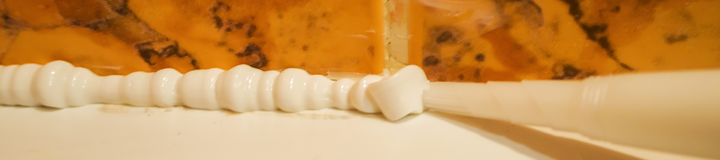
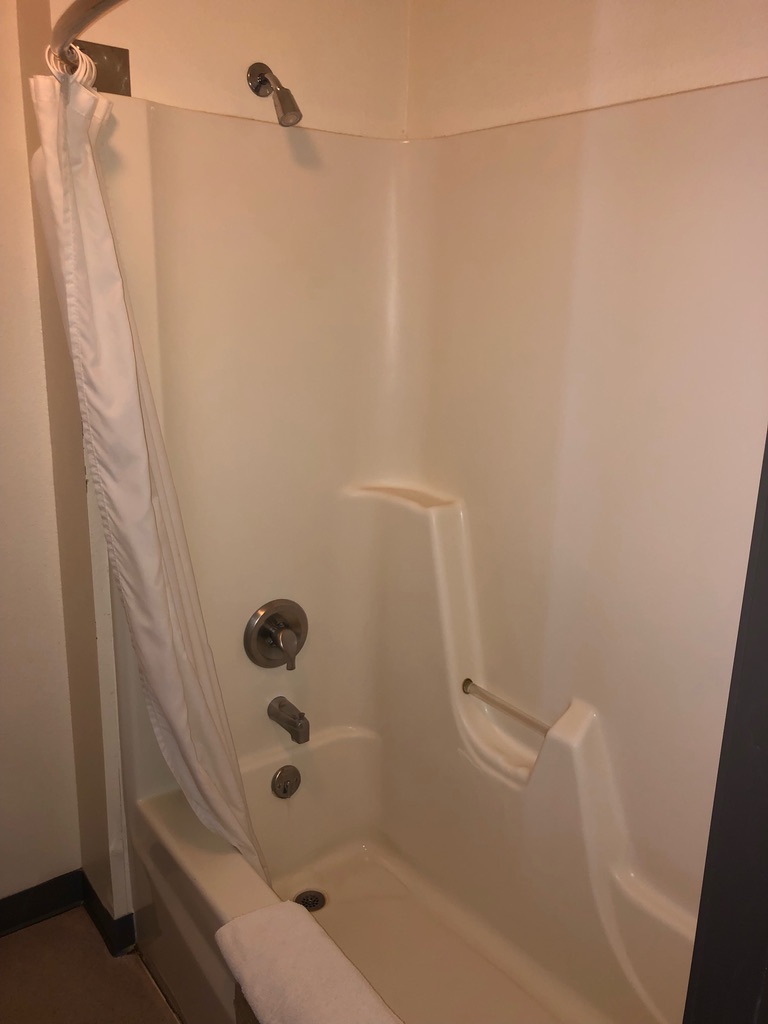
The typical problem area in a bathroom is the horizontal joint around the top of the tub to the wall tile. If you have a one-piece tub/shower unit there will not be a joint here.
For a shower, the horizontal joint around the top of the shower base to the wall tile or floor tile to the wall. Again, if you have a one-piece shower unit there will not be a joint here.
Also, check any vertical joints at the inside corners inside the tub and shower area.
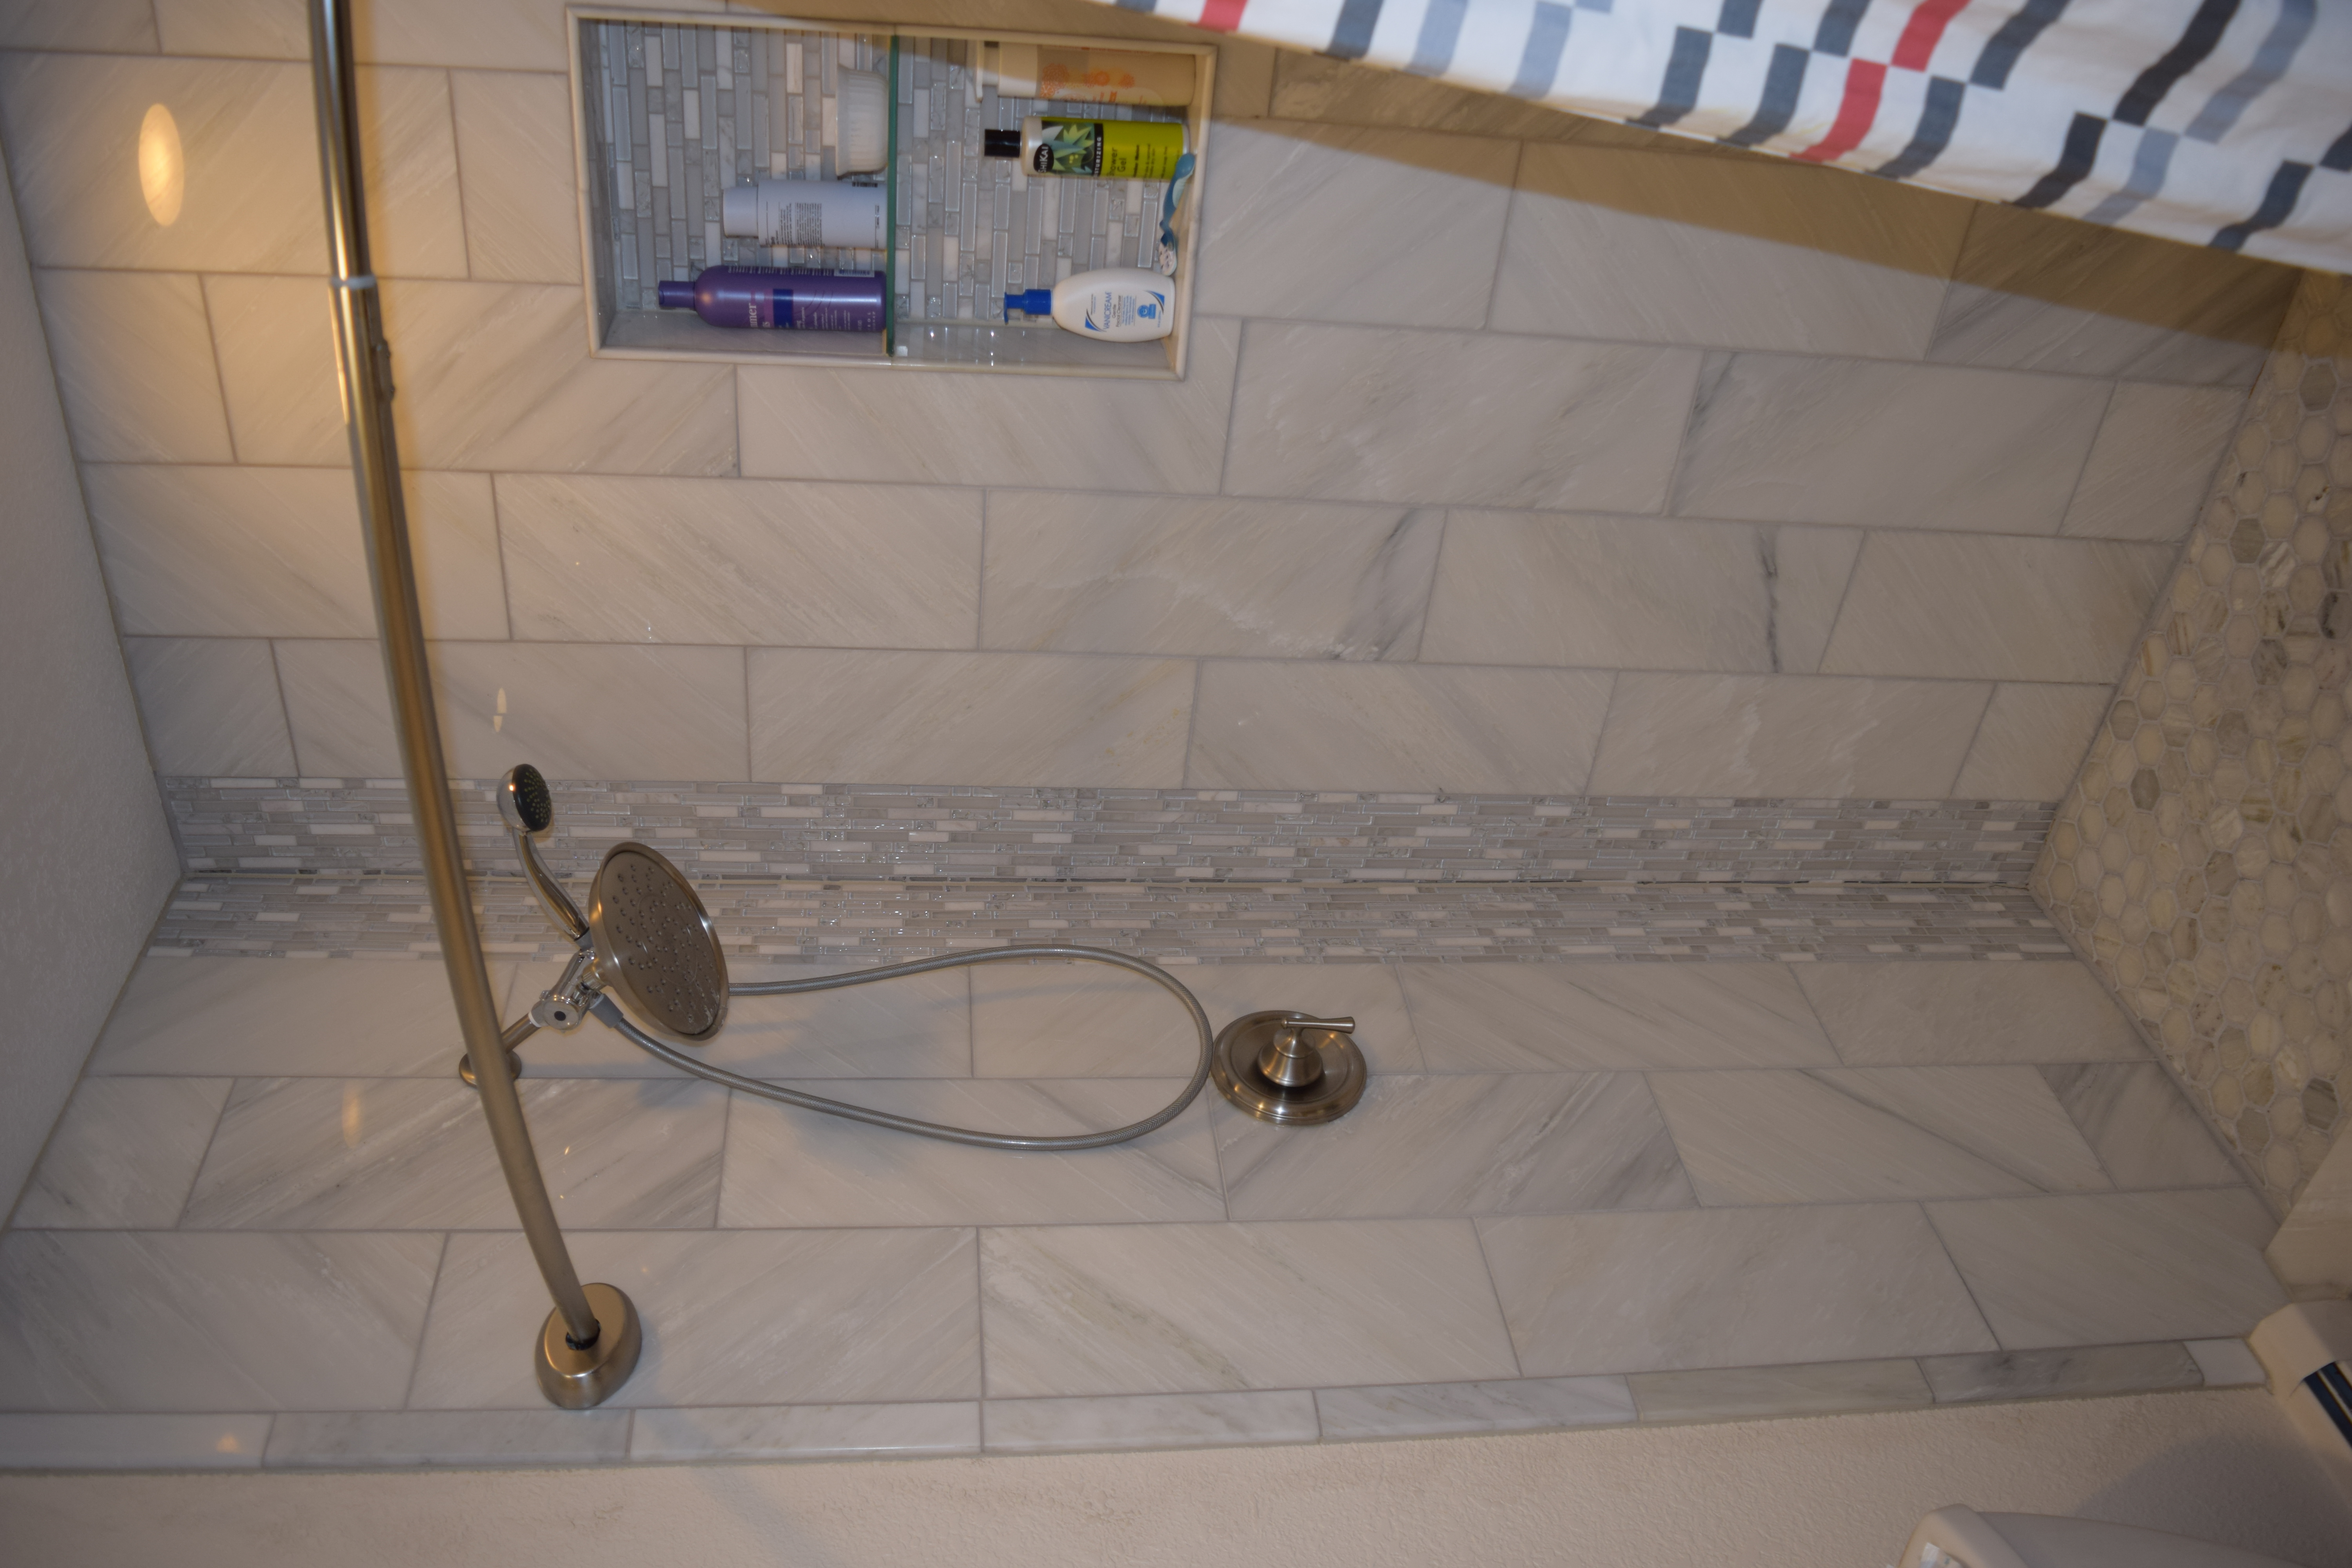
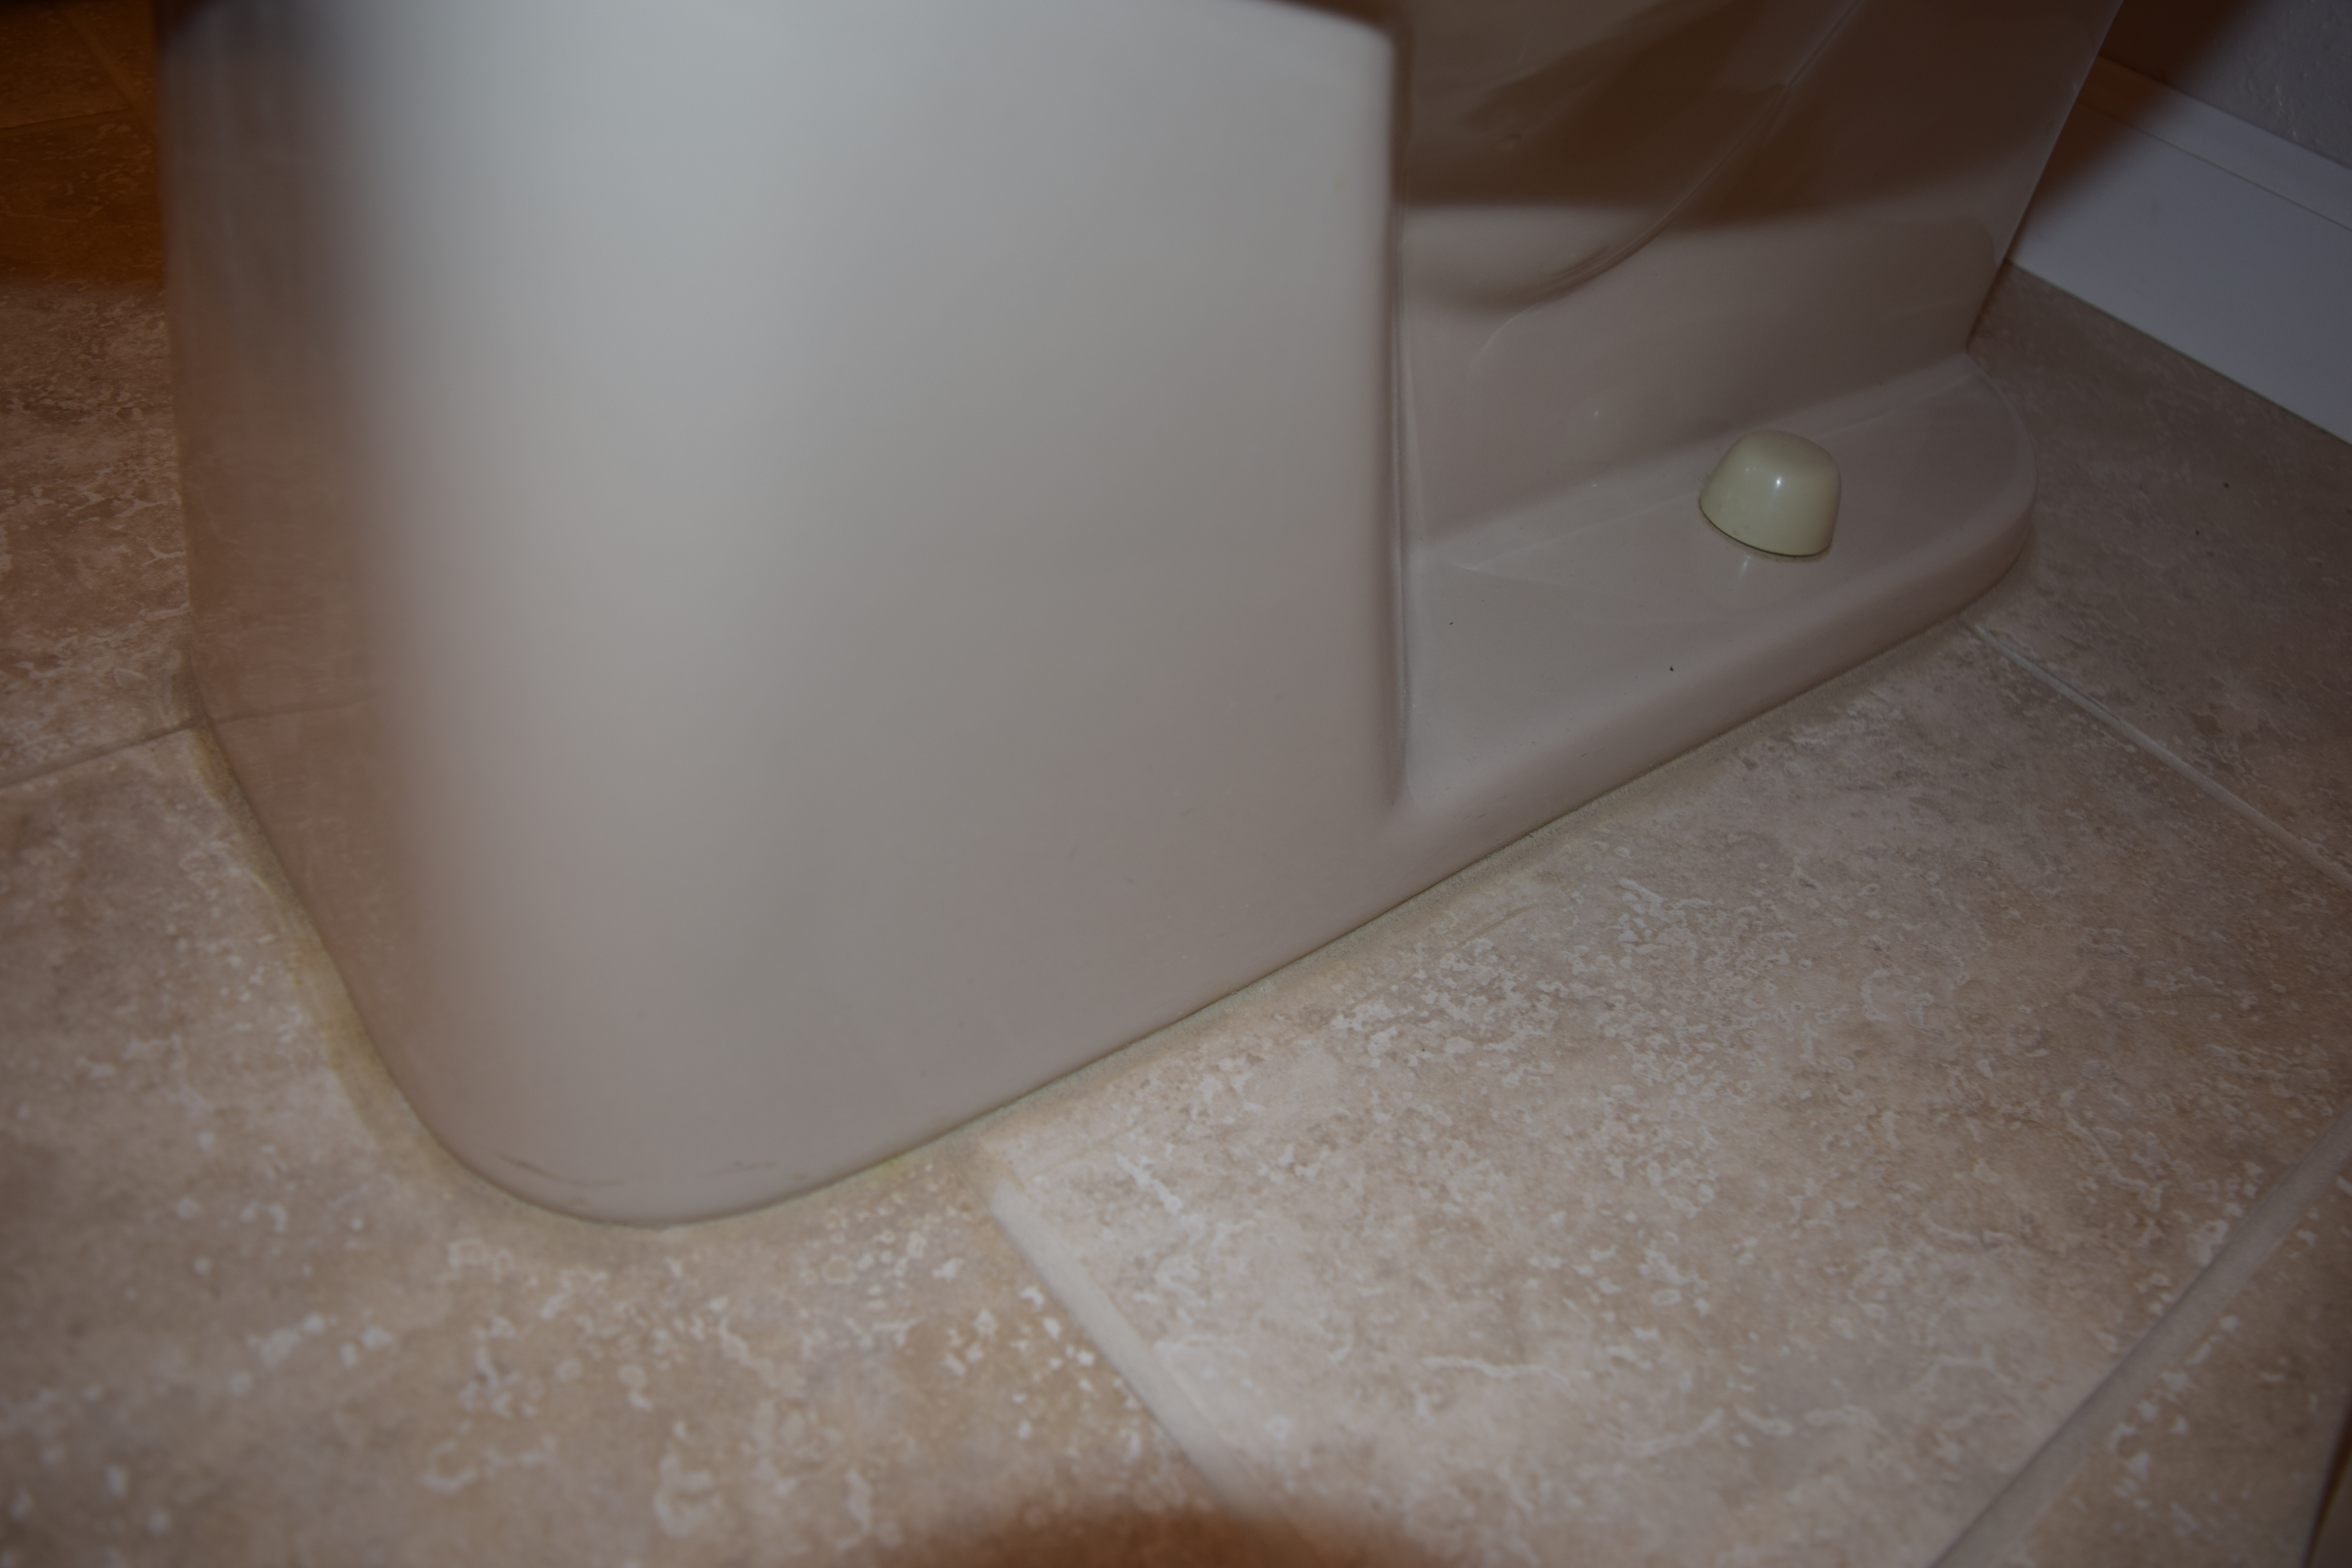
Another area to check is the joint between the tub/shower valve trim plate, and tub spout to the wall. There should be sealant here to prevent moisture from entering the wall behind these areas. One location typically forgotten is the joint where the tub or shower meets the flooring. A lot of water can be splashed in this area by children and when people exit the bath.
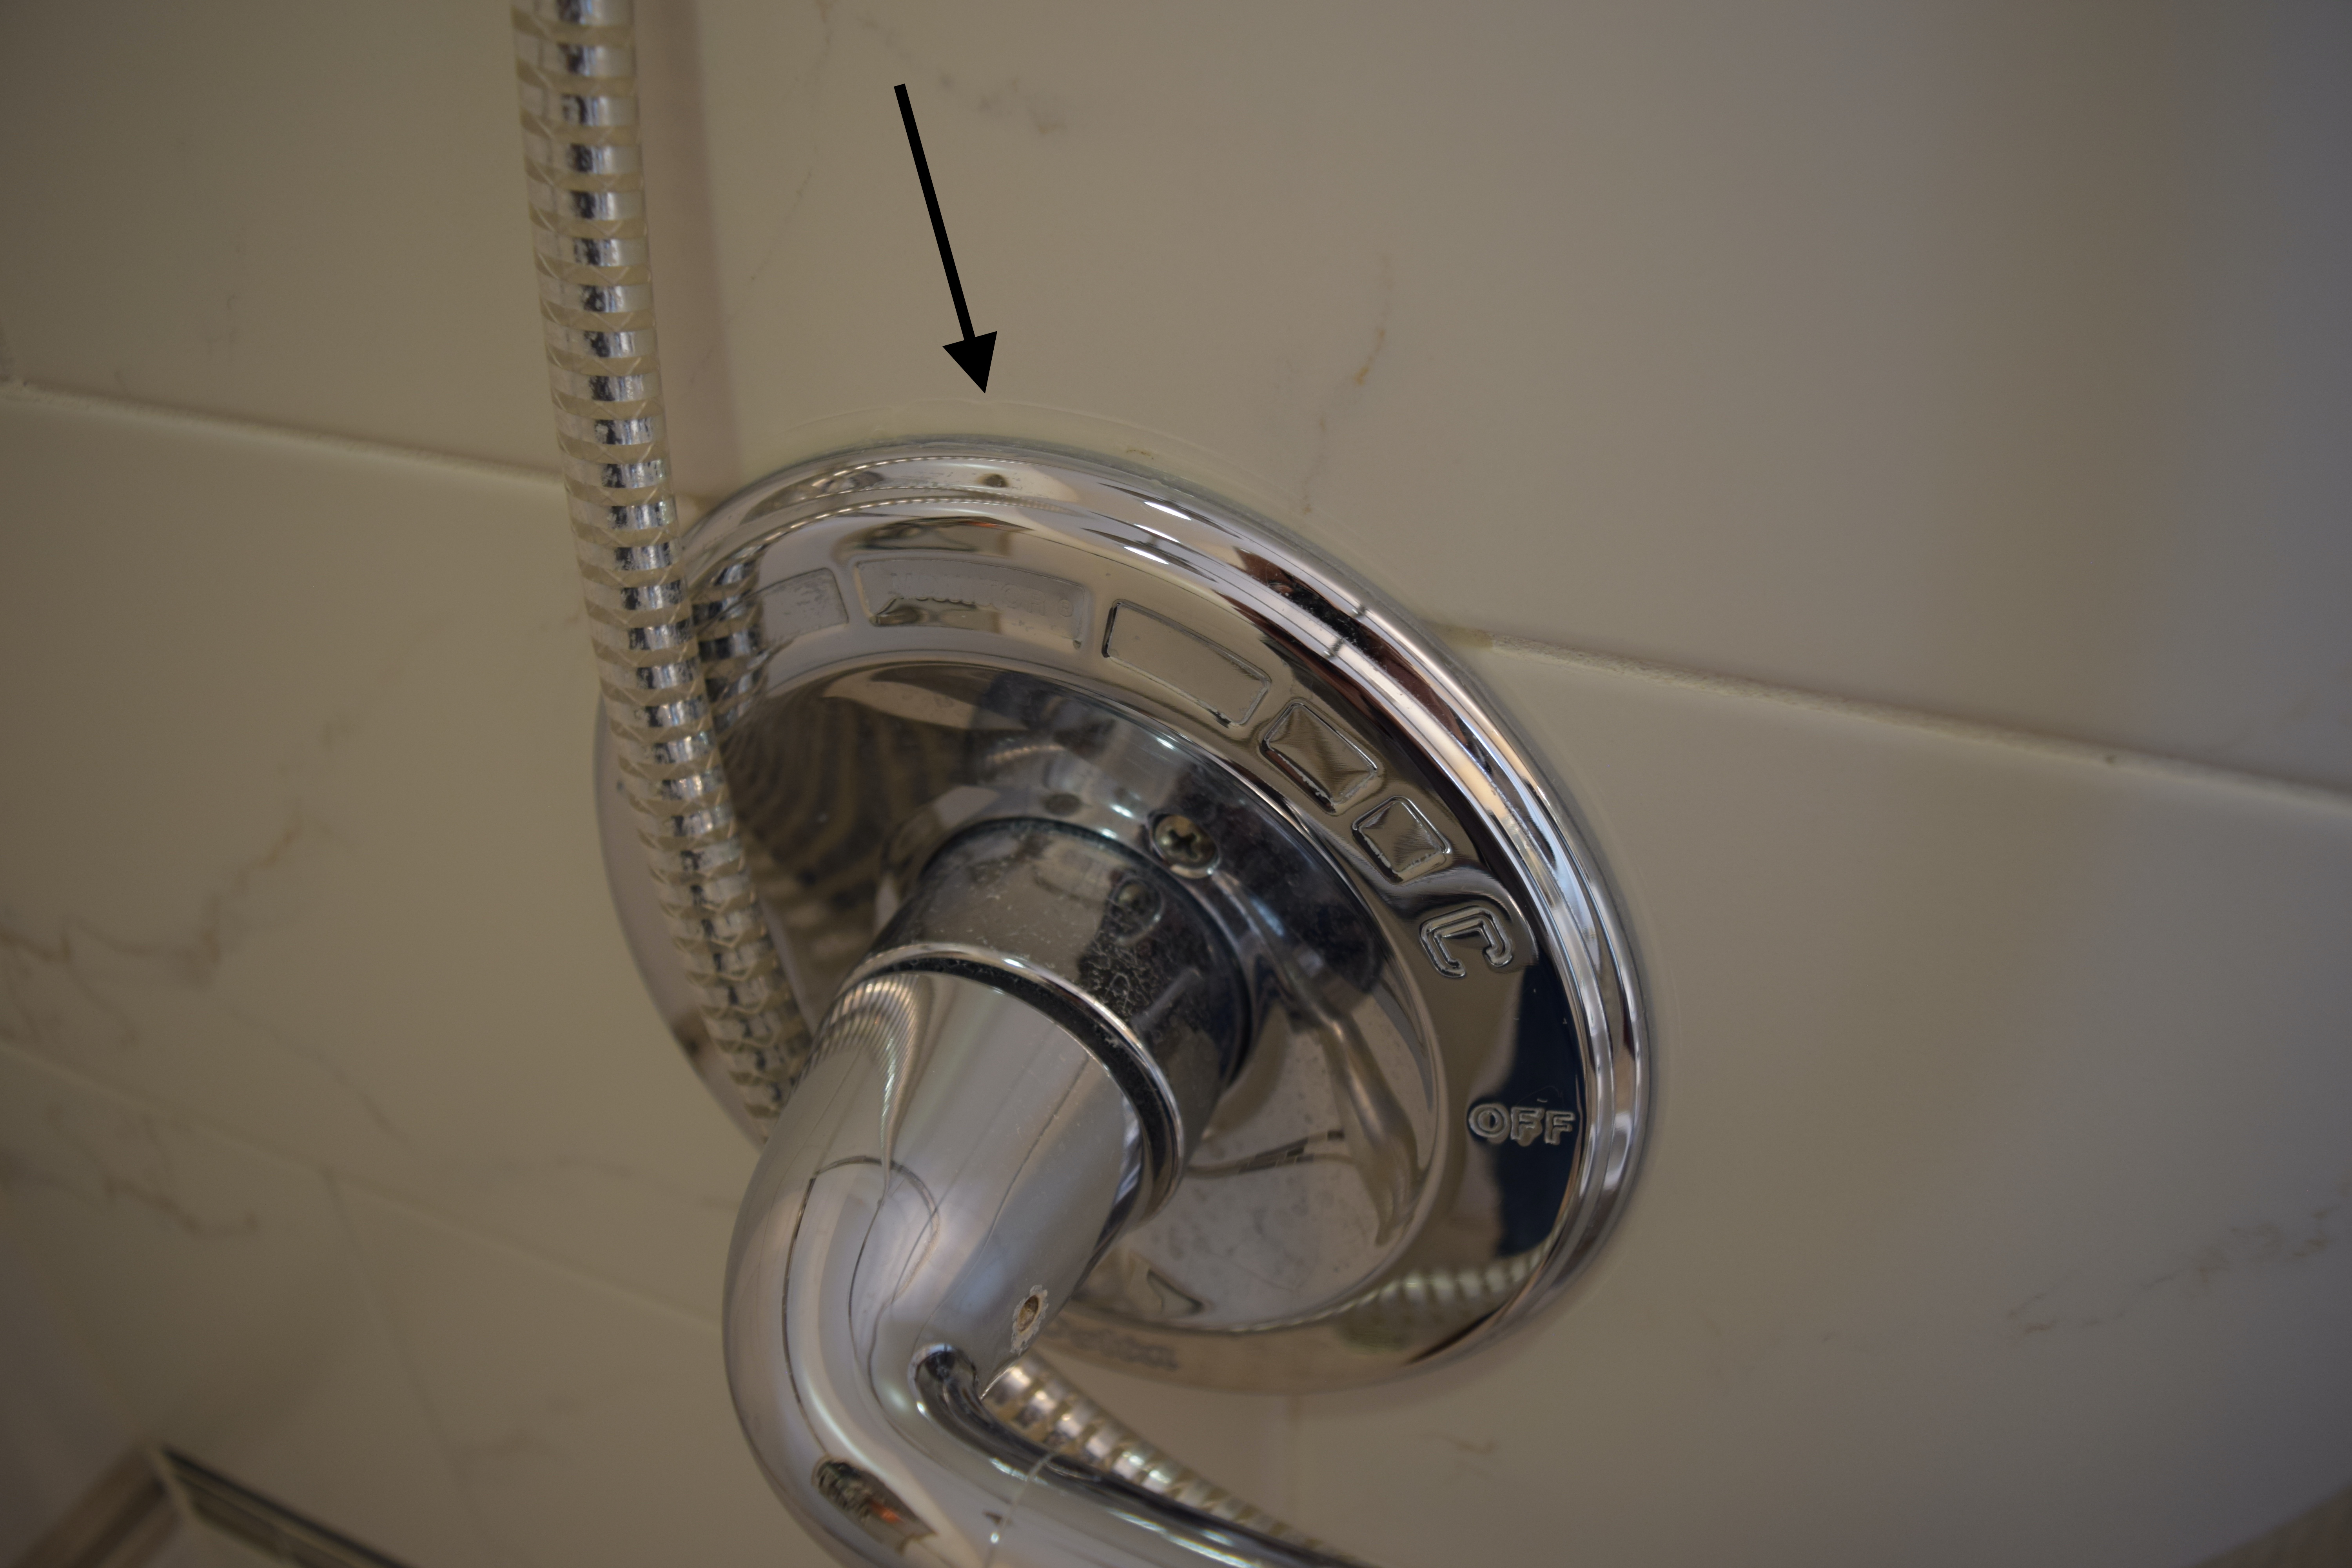
Shower Valve Trim Plate Sealant
Some will also seal around the base of the toilet when installed on a tile or concrete floor. This is not necessary and is only an aesthetic preference. The con for sealing this area is that if you were to develop a leak under the toilet and the pipe seal, it will not be visible and could result in damage to your wood subfloor.
Kitchen & Bath Sink - Where is the most water in the kitchen? At and around the sink. There are two basic types of sinks that require sealant maintenance; the drop-in surface mount sink and the below countertop mount. Both of these have sealant between where they contact the countertop. If you have a countertop with a built-in sink as part of the top, no sealant is required.
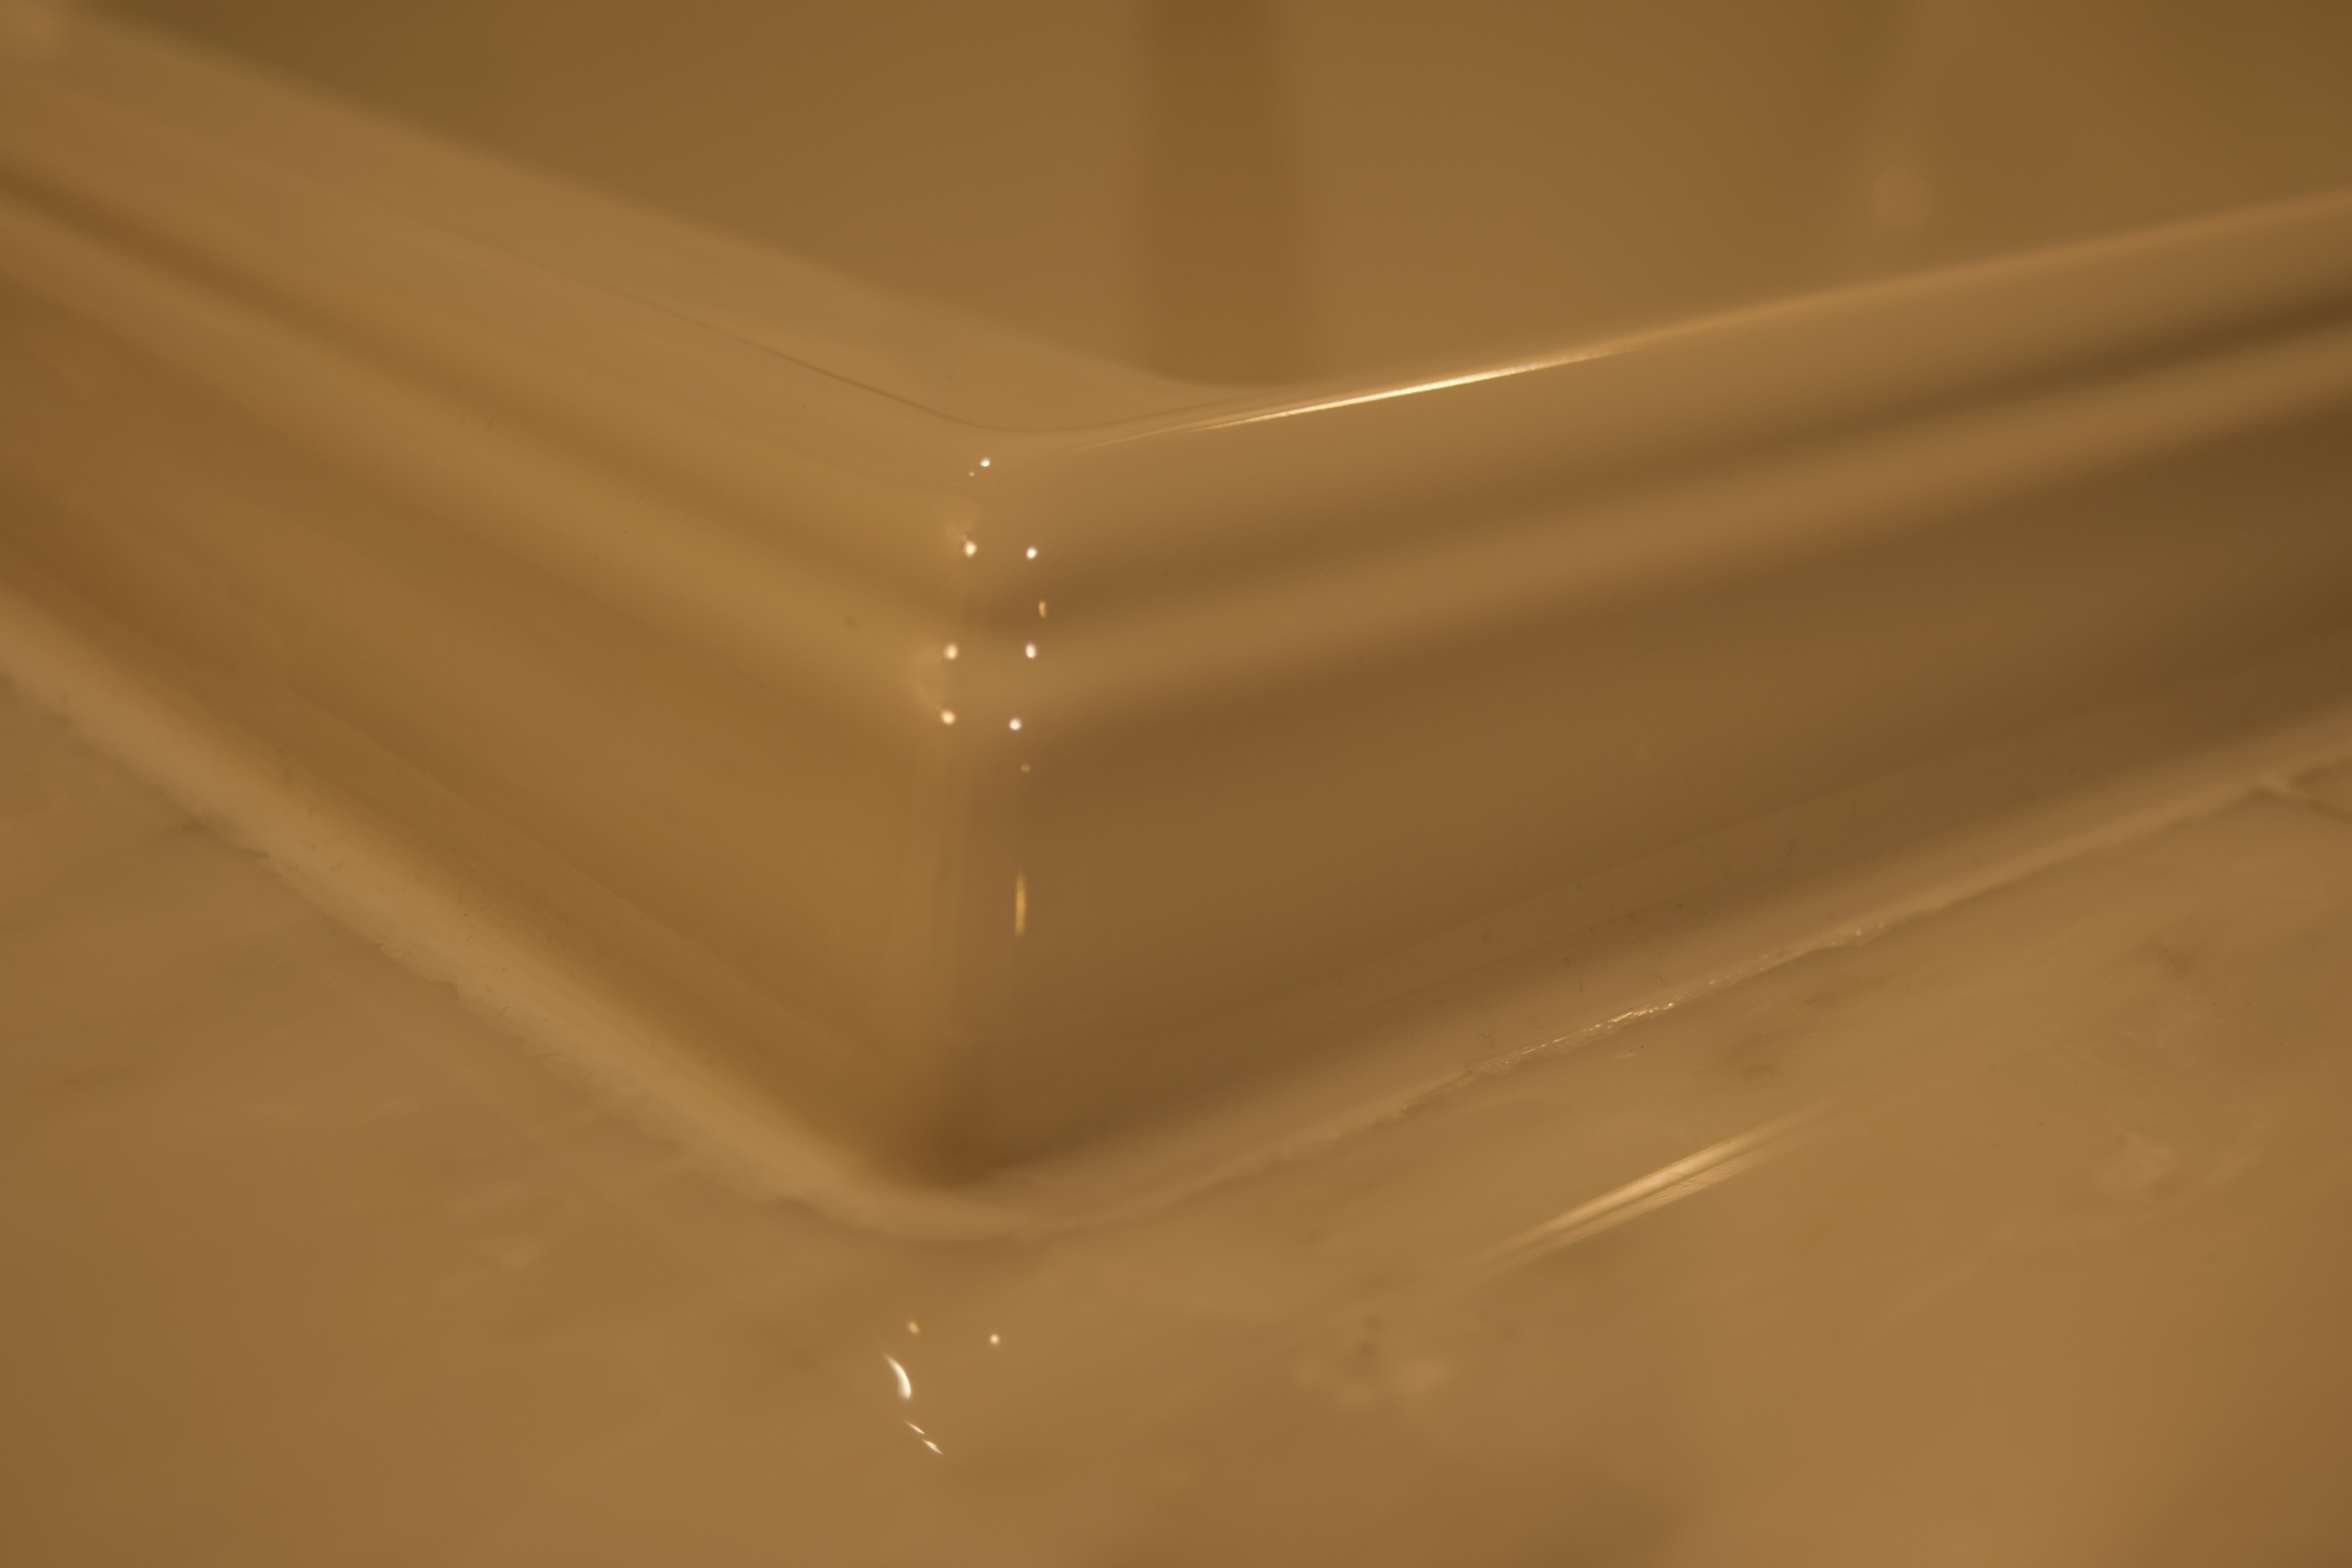
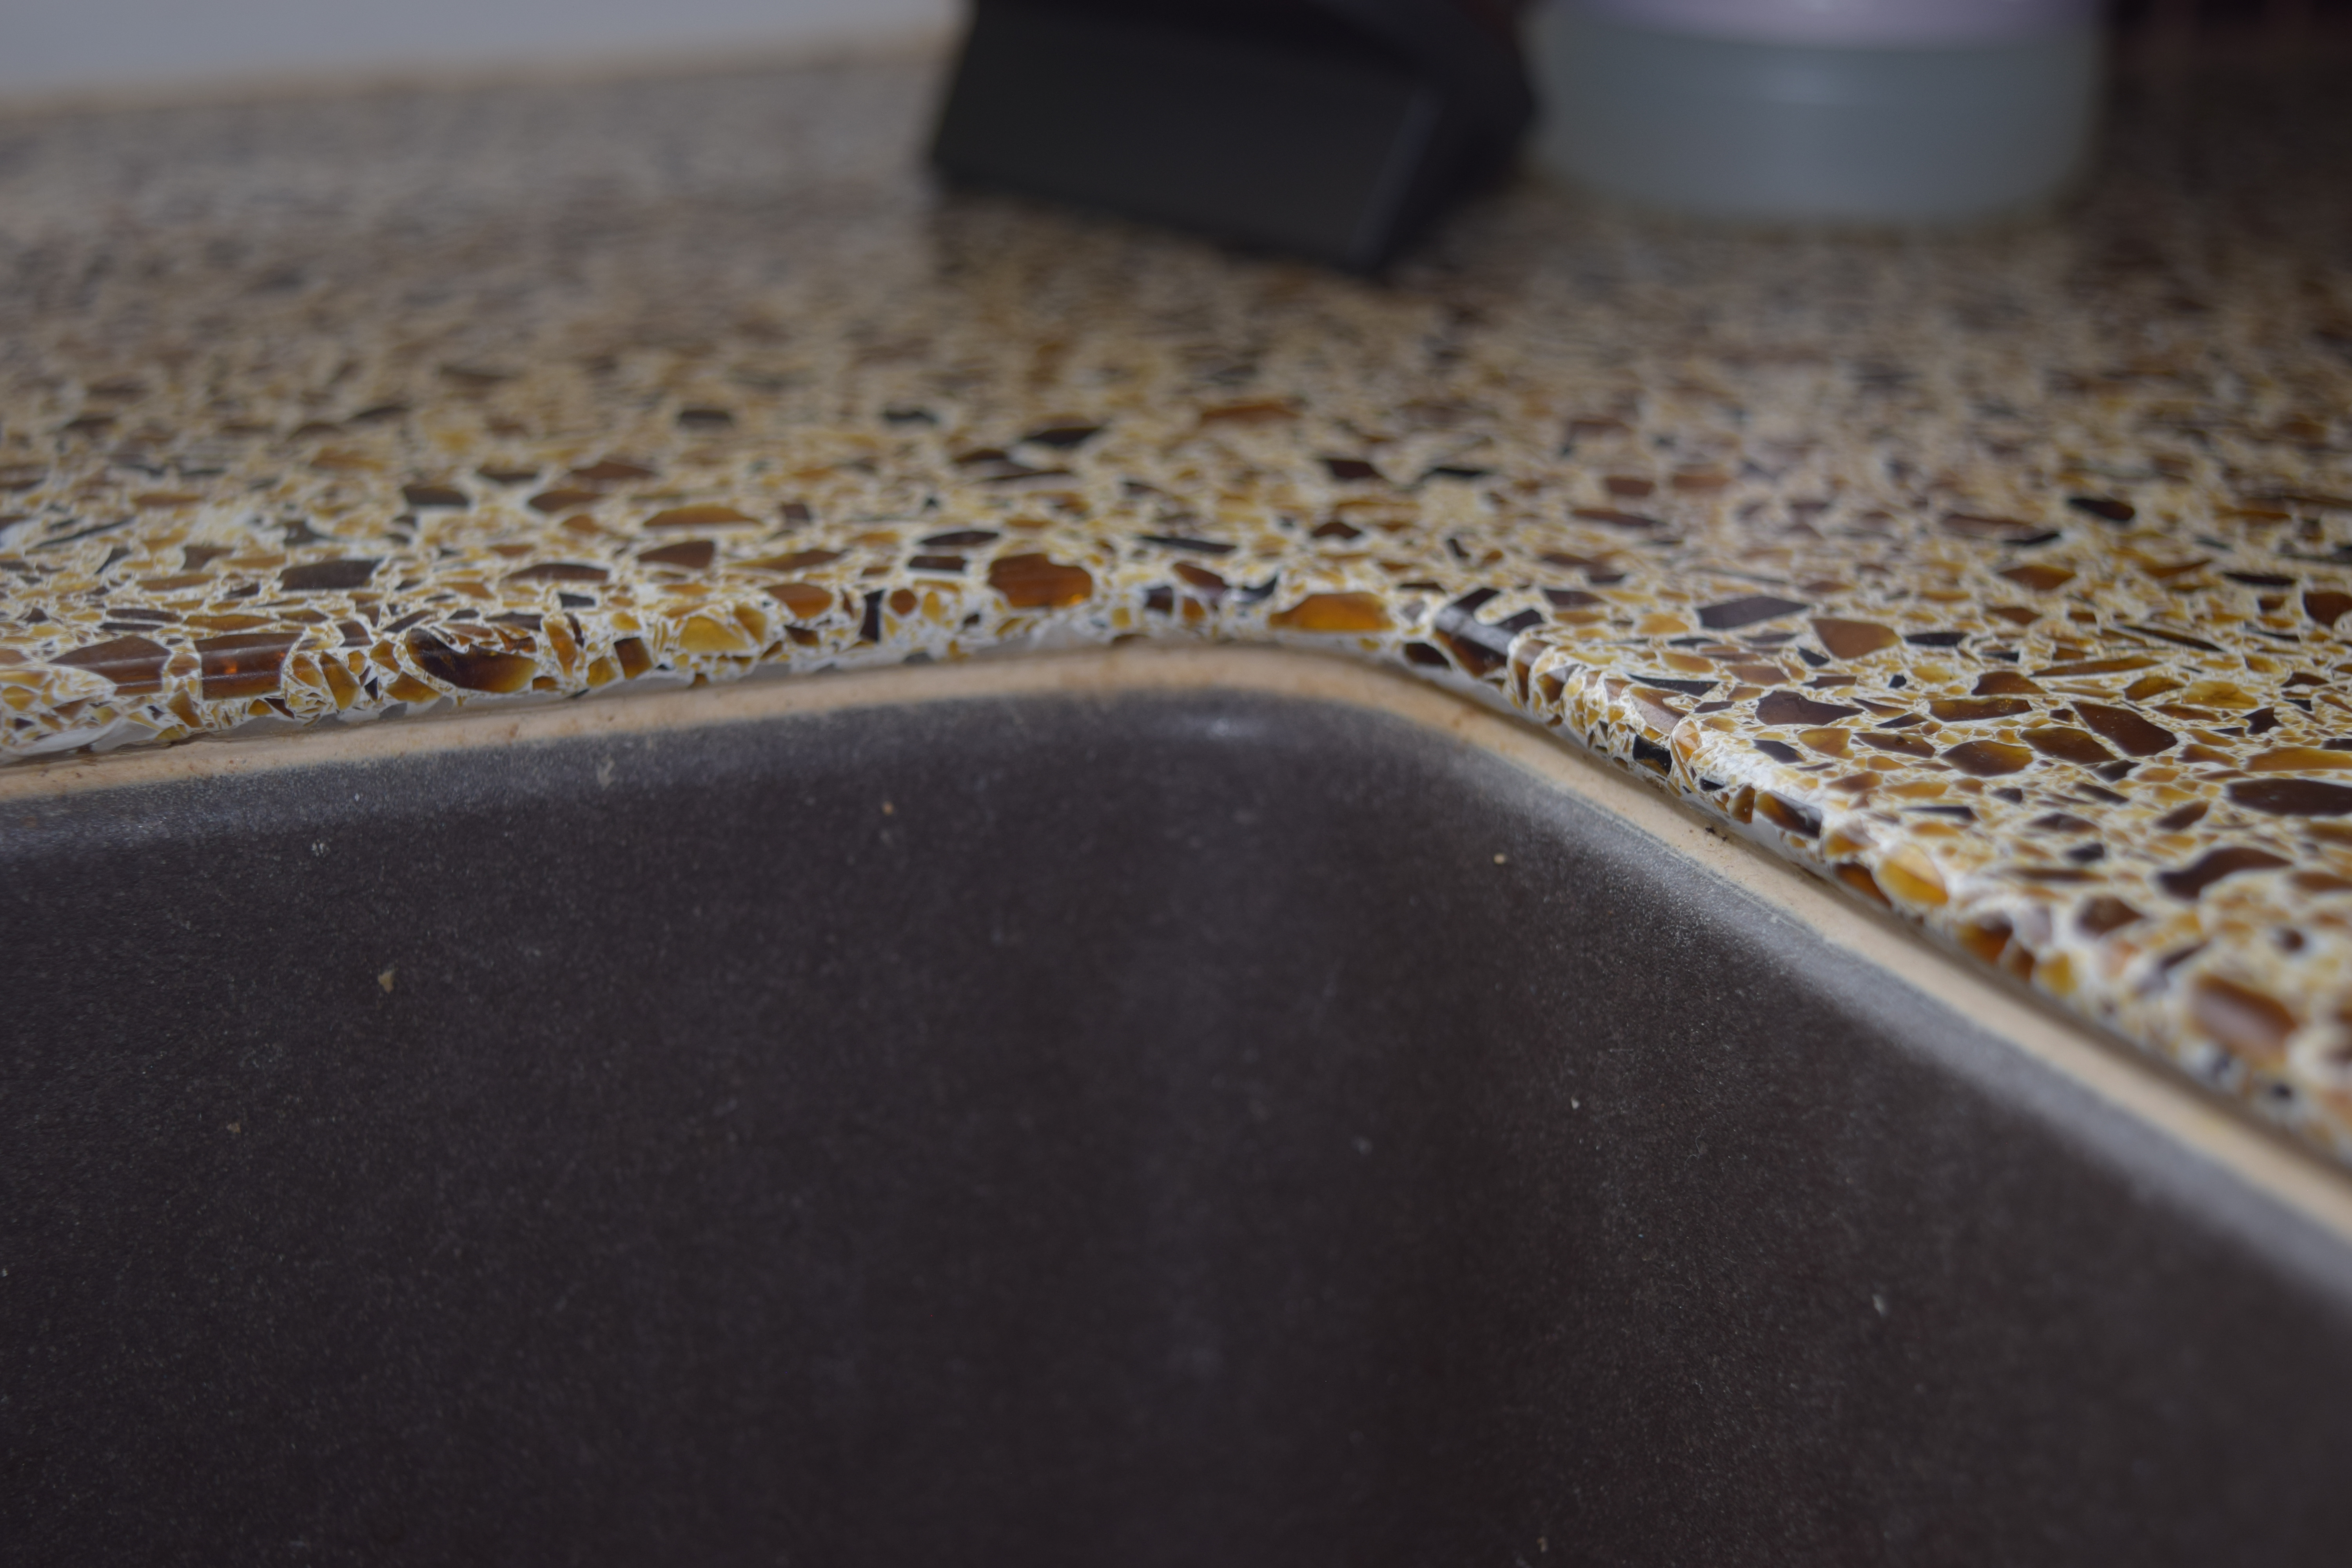
Sealant at the Below-Countertop Sink joint
How to Replace Bathroom Caulking
Strip the old caulk using a utility knife or caulking removal tool, being careful not to damage surrounding materials. After scraping, you can use a caulk remover product for stubborn areas, scrape, and wipe with a rag, following the product directions.
Be sure to first check the compatibility of the product with the surface(s) you are cleaning.
Application process
Once both surfaces are clean, you are ready to install the new bead of caulk or sealant. We could write several pages on this how-to. Rather, we will refer you to this by Lowe's.
Tools and Supplies
AC/BS: Razor scraper
AC/BS: Utility knife
Tubes of Kitchen and bathroom caulking for the specific use
AC/BS: Caulk gun
Caulk Cleaning, Keep it Simple
Have you ever noticed a pinkish, orangish, or yellowish tint to your caulk? You're not seeing things.
That tint can be a byproduct of bacteria growth, especially in areas of your home that are damp, dark, and have poor ventilation. Aside from cleaning hair, dirt, and dust accumulation from the caulk's surface, regular cleaning and maintenance also allows you to attack this ugly, and potentially harmful, bacteria growth.
Source: grout-experts.com
A Word About Mold Growth on Caulking
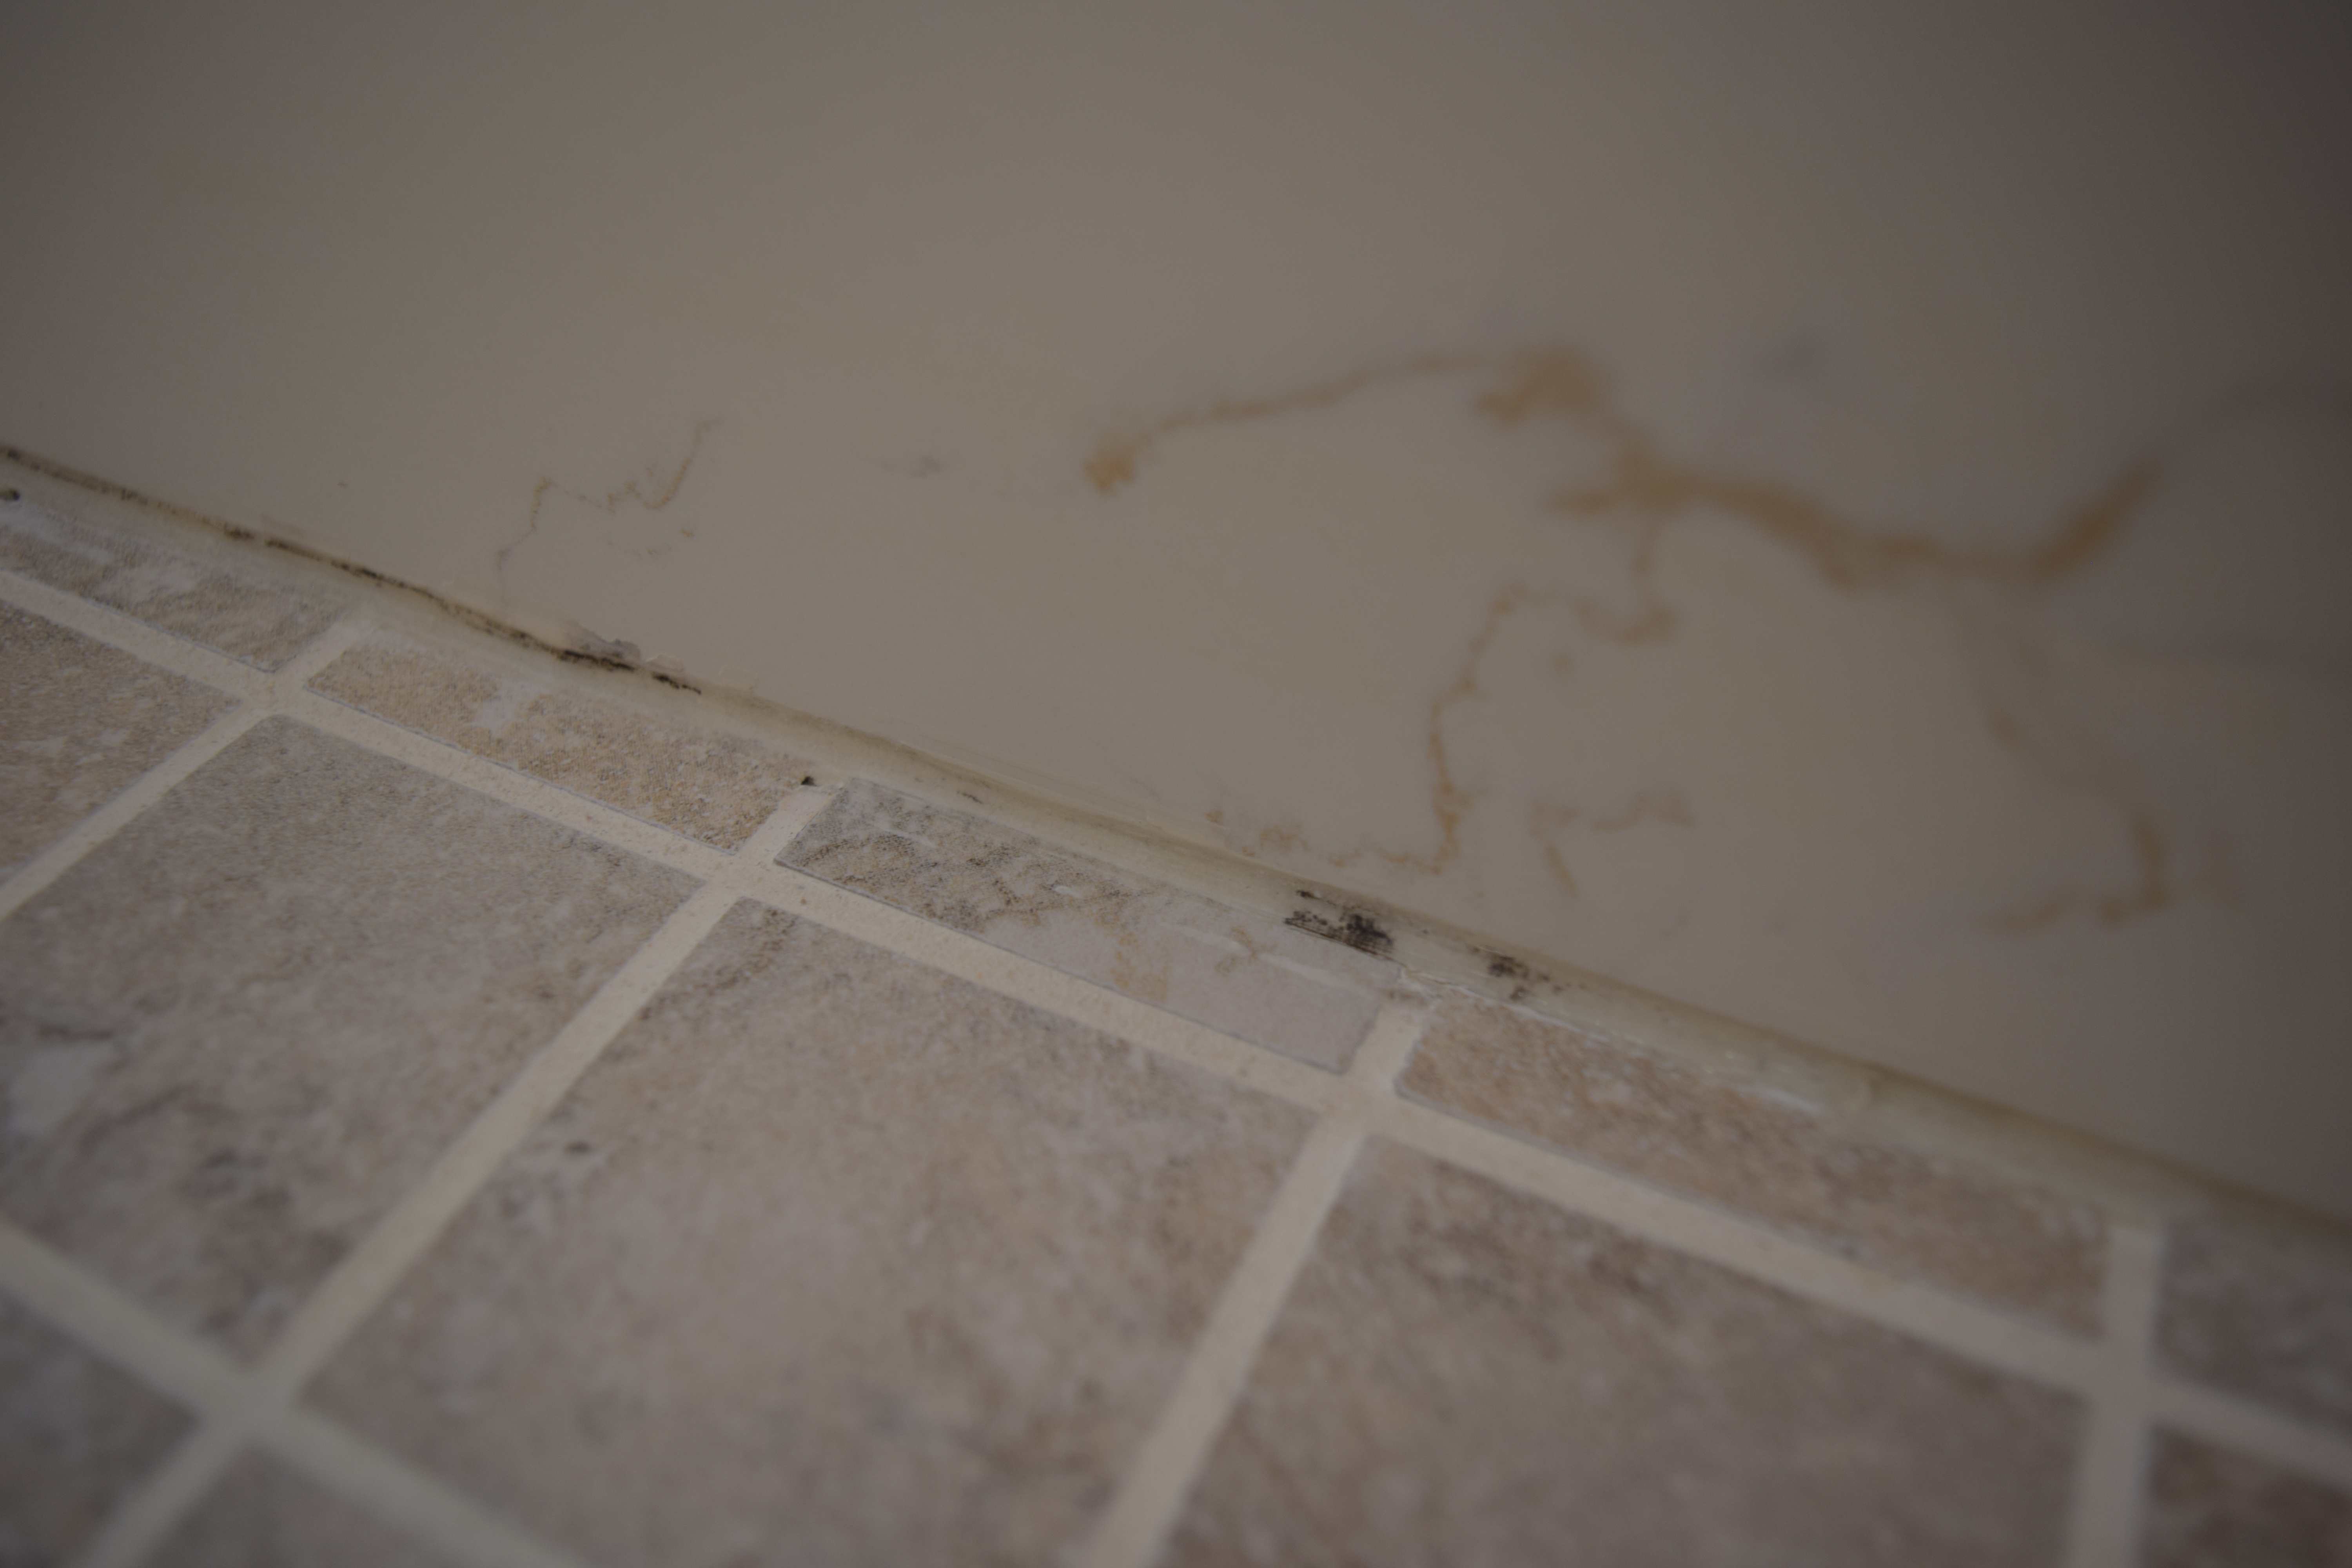
It's not uncommon for mold or mildew to form on the surface of caulk in baths and showers. It will usually appear in black blotches, and it can be scrubbed away using a bleach-water or hydrogen peroxide-water mixture.
But if the mold appears to be coming from inside the caulk, or if it reappears in a matter of days, it could be a sign of a larger problem. Namely, water has likely penetrated beneath your tile and grout, causing mold to grow from the inside out.
This can most likely be attributed to a lack of cleaning and maintenance.
Source: grout-experts.com